Idle


It's been a crazy few days with Hurricane Sandy here on the east coast, and my home state of New Jersey got hit pretty hard. We consider ourselves very lucky, because we only had a downed tree (and many lost branches), and lost power for a day. Many are still without power, and the temperatures are now going down, so folks are scrambling to stay warm, fed, and entertained.

All schools have been closed this week (and my work is as well), so it has been an unusual time at home -- the kids have been helping to clean up the leaves and stay civil with each other, but when there is this much idle time, fights and other unappealing sibling behavior is bound to happen.

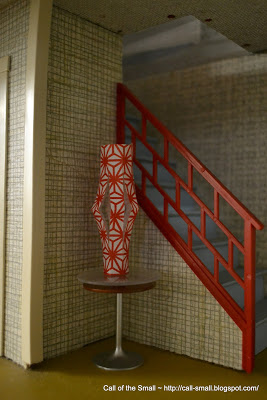
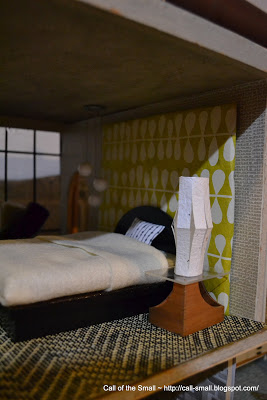
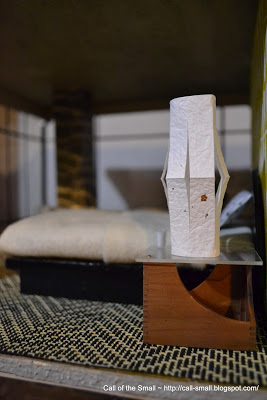
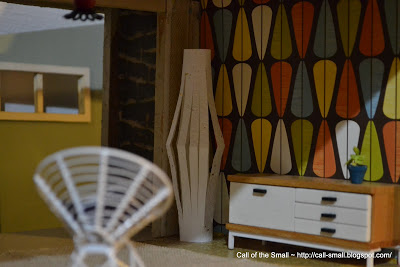
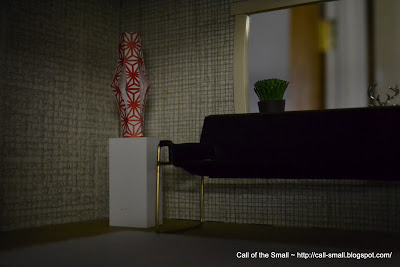
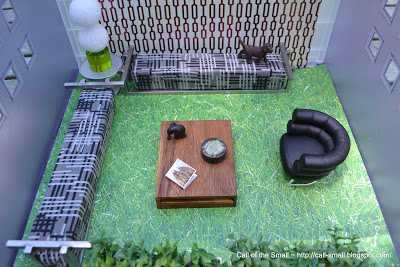
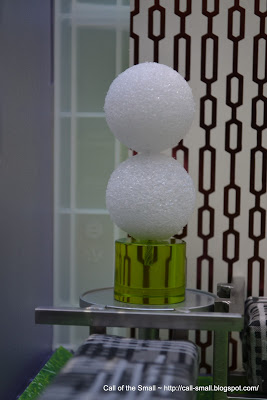
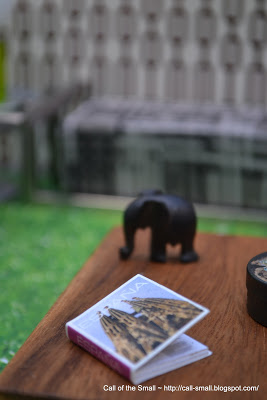
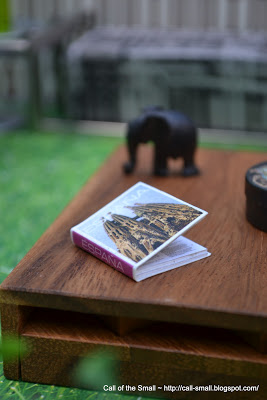
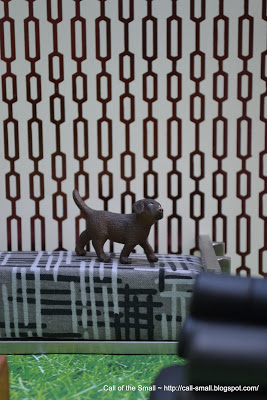
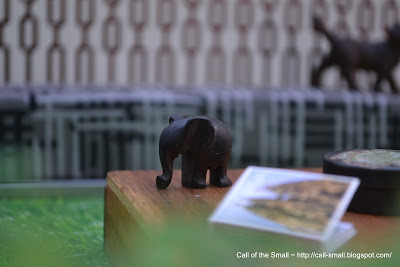
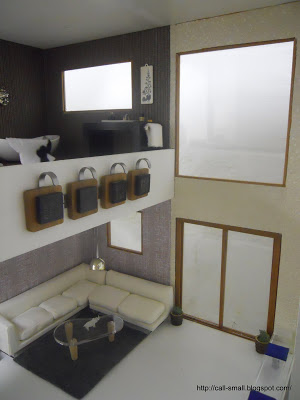
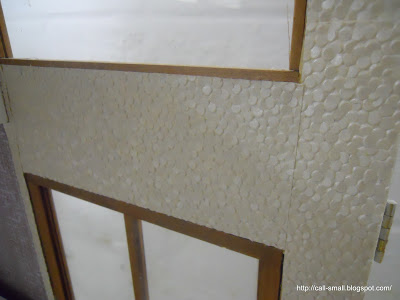
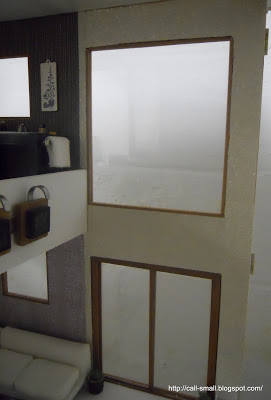
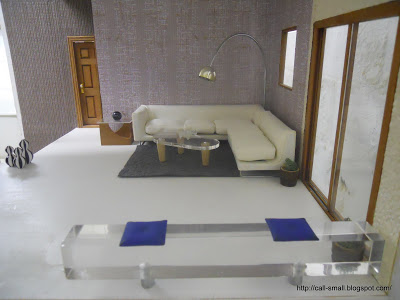
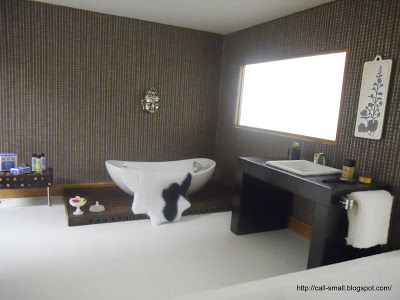
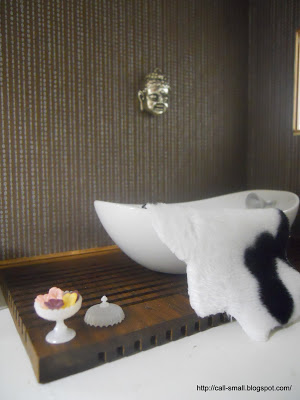
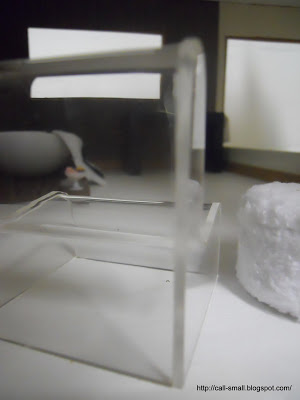
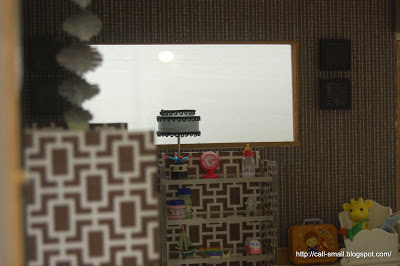
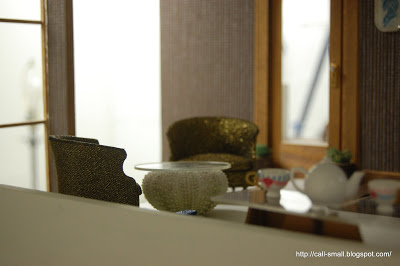
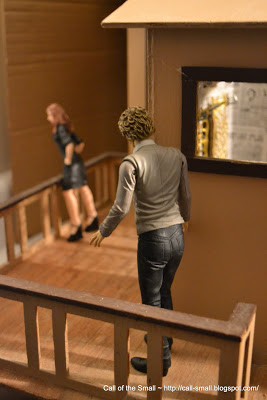
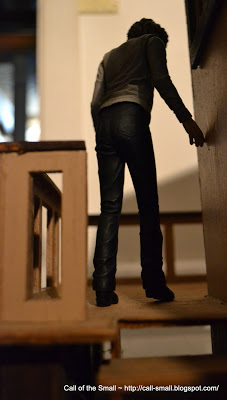
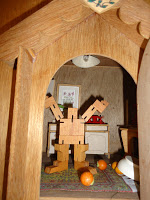
Of course, Halloween is today, and while NJ Governor Christie has officially postponed it until Monday (!), we plan to carve a pumpkin and do some baking. Here's a little scene that I brewed up, too...enigmatic and creepy. My Artply Higland is an ideal environment for such a scene, with its plentiful broken plexi, dust, and cobwebs. No cleaning was done in this room, to ensure it was a moody as possible!


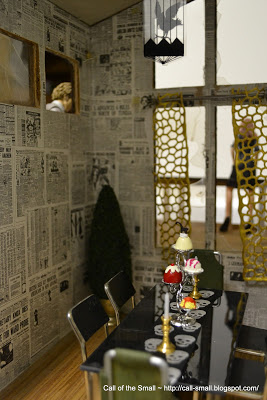
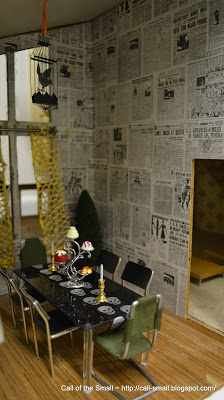
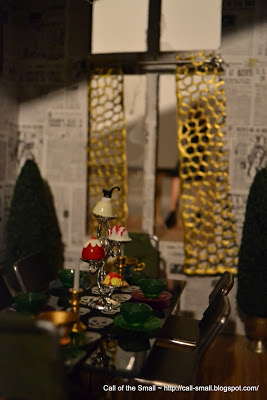
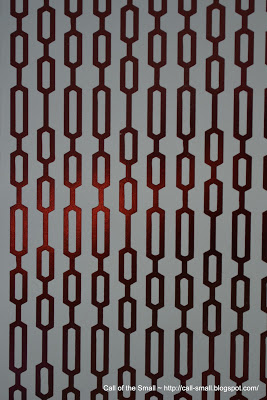
See the curtains? I cut two swaths from a Chilewich place mat and hung them with a metal crafting sticker that looks like a curtain rod.


They work quite well!

The hanging lantern is also a crafting find from Jolee's Boutique-- fun!


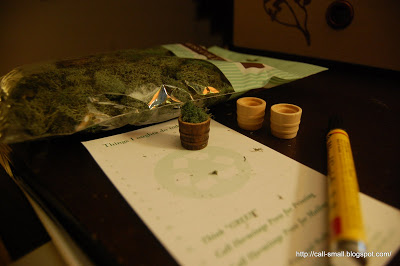
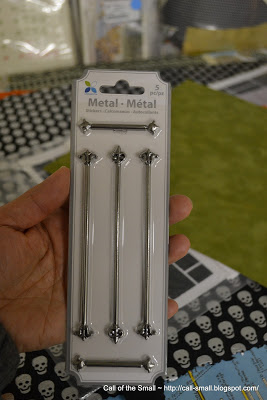
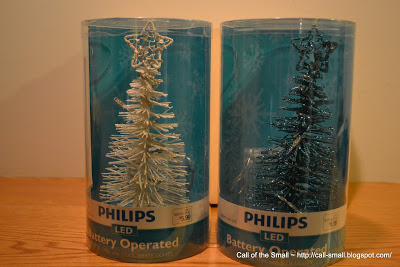
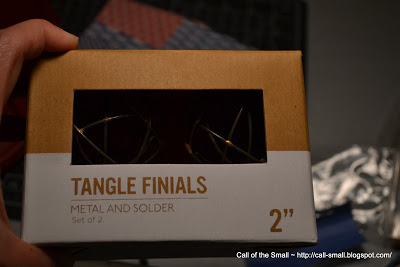
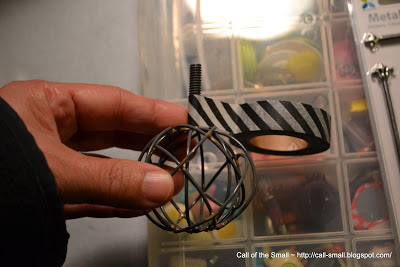
I also wanted to share a few new items I found that might come in handy for your doll houses: LED-lit trees by Philips, purchased for $5.99 each from Target (I might get rid of the large star topper), and "Tangle" finials from west elm, on clearance for $6.99 per box (these could work as industrial light fixtures with a little Deco tape wrapping -- still experimenting).


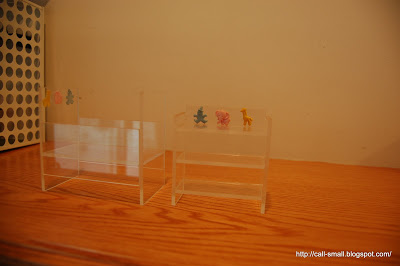
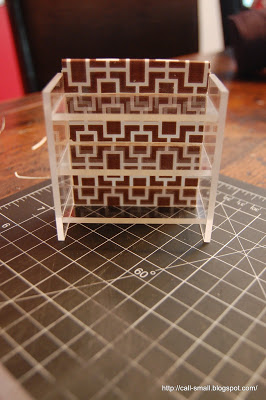
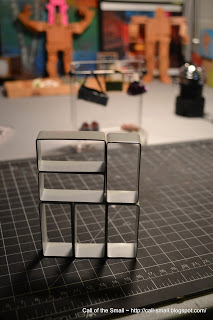
I also picked up some minimal white napkin holders, also on clearance from west elm ($1.99/each), which show some promise for modern shelving.


I also have my eye on a lantern ornament from Pottery Barn (at left, without the monogramming!) that could have a second life as an outdoor fireplace. Speaking of ornaments, each year, Hallmark comes out with new Keepsake Ornaments...I haven't fully checked them out, but it's worth a look at those too. Make sure you check the dimensions before you buy, and let me know if you find any good ones!

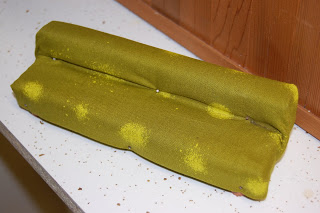
A last tip: refrigerator magnets from Acme International. I bought up a few this week, including a cappuccino maker and wine rack, a copy machine, and an arcade-style video game. Worth a look!

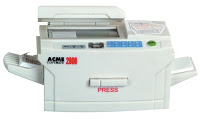
Photo courtesy of Acme International

Hope your Halloween is still happening, and you get lots of candy!

A quick update on the Call of the Small/Cubebot Challenge: the first entry is in: Nick James of the UK shows his Micro Cubebot wreaking havoc in his daughter's dollhouse! Naughty bot! Hope you are working on yours, too! Submit your entries (No more than five images, ideally 1 MB or under each), to minibotchallenge(at)gmail(dot) com for your chance to win $200 from AREAWARE. Full contest details are here.

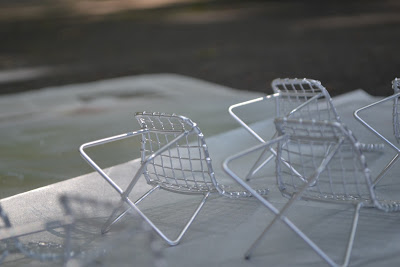
Credits: Table is ELF Miniatures; male doll is Jasper from Twilight, and I got him at a $5 store; the female doll is from DHE; chairs are eBay finds; trees are from dollhouse.com; table runner is from the Paper Source. Accessories are lots of Re-ment, Manor House Miniatures, and eBay finds.

The time it took me: 1 hour, 53 minutes, over three days 

Vintage Children's Book DIY

 
There's probably nothing I love more than a straightforward and easy DIY, especially when inspired by a charming vintage children's book.

One of my youngest son's favorite books is How to Make Flibbers, etc: A Book of Things to Make and Do, by Robert Lopshire (Random House, 1964).


The book is filled with easy crafts with simple materials -- mostly paper, scissors, and glue. It charmed me from the first read, and my son and I even shared some of the simple to-dos with his preschool class. But, the mini potential did not occur to me until recently, and I was able to give the "Limp Lamps" activity a go!

Here are the pages from the book for the lamp:


Super easy, right? I figured it would be simple to replicate this activity on a smaller scale (I chose to eliminate the handle), and indeed it is. Here is my mini tutorial (not that you need it!):
Choose a paper. I used origami paper with a pattern, like these sheets.

 
Cut the paper into a rectangle shape, measuring about 2-3/4" x  3-1/4", but feel free to experiment with different sizes


Fold in half and score

Cut strips from the score and stop just before the top

Unfold and glue at the tops, with the score oriented along the center

Voila!
I used other papers as well and tried out the activity in different sizes -- works!


The sofa is a new acquisition, purchased on my trip to Denver in July

I even used one of my flameless tea lights from Pottery Barn as a base -- neat!


Let me know if you do your own "Limp Lamps!"

Two other crafts from the book that have mini potential are these: "Party Mats" and "Stickit Picture"; I might try them next!


By the way, one of the reasons I was able to see this craft through was because I cleaned up my entire mini space. Remember my "struggle with clutter" post? Well, I just got in the right frame of mind and did it! We took some vacation time at home and I had a four-hour block of time to myself and just powered through. The only thing left to do is un-box and sort about 40 sets of Re-ment, purchased over the past two years! Yes, TWO years!

Here's some pics of my newly organized dollhouse room...hope it stays this way for a while.


Silver Chair


I'm enjoying a few days with a dear friend in Denver, so this will be a quick remote post! Before I left, I had a little fun with a can of Valspar silver spray paint and six CB2 Reed ornament chairs (no longer available from CB2, but I got them at my Crate & Barrel outlet for .50 each). I've been accumulating the chairs, and wanted to try out a new color from the fire engine red. Here are the results!


What do you think?

I set them out on a CB2 shelving unit, which I bought a few months ago on clearance ($23) with aspirations of turning it into a cool beach side apartment complex or a mod townhouse. This project has not yet materialized and sits dormant in my garage, but worked nicely as a perch for these freshly painted chairs. They photograph quite nicely and were a cinch to do.


Have others painted these chairs? What colors?


Credits: Table and arc lamp are eBay finds; pillow is minimodernistas. Accessories are Re-ment and beads from Michaels.

The time it took me: 10 minutes to fully paint all sides; a couple of hours to fully dry

Dog Digs and DIY


While I did not intend for this mini environment to be for canines, it all came together as such once the grass "carpeting" made it onto the floor of my IKEA Lekman room box. This Schleich puppy seems quite content in his doggy pad. We now have a (real) doggy, a four-year-old PBGV named Layla, and she is definitely a loving little couch potato.


One of her favorite poses!
Cute, right?

The benches here are my form of DIY. I am always amazed by those out there who offer wonderful tutorials on their mini creations--such as MitchyMoo, Otterine, Meagan, and so many others--and do great things with their hands. My DIY is *way* simpler and does not merit a tutorial, but rather a series of simple photos that hopefully tell the story!

In this case, the benches are metal tissue holders from CB2, purchased at my Crate & Barrel outlet for $7 each. I used some cool grey crosshatch fabric from Jo Ann Fabrics, and wrapped it around a foam insert from a recent box delivery. I cut the foam to size, sealed the fabric together with a little fabric glue and stapled it down. Nothing to it.


My sister-in-law gave me these amazing Dragonfly scissors for cutting fabric


A little Fabric Fusion goes a long way


The lamp is made of craft store Styrofoam balls, stuck onto a memo clip (with the clip removed), also from my Crate & Barrel outlet. It's space age and fit for this doggie's pad, no?


The coffee table is a puzzle box, and the profile works with these low benches. See that magazine and carved elephant on the table? They are from Rosa of Minismodernas, as a thank you for entering their anniversary contest. Megan of Modern Mini Houses took home the prize for her awesome setup. Congrats to her, and thanks to Rosa for her sweet gesture!


I chose the back wallpaper from the "Serenity Stack" by DCWV. This one looked like a dog collar or chain, so up it went!


By the way, if you think this pad is fancy for a dog, you should check out some of the custom dog abodes featured in a recent New York Times article. Bow WOW.
Courtesy of the New York Times website

Credits: Benches are DIY tissue holders, foam, and fabric; table is a puzzle box; chair is Reac; plants are vintage TOMY; round side table is Mighty World; lamp is a DIY memo clip and Styrofoam balls; flooring and wallpaper are from scrapbook paper stacks. Accessories are mini gifts and Michael's.

The time it took me: 1 hour, 15 minutes, including DIY

More Complete


I finally got to address the double-height wall in my Citadel, the last to get renovated in that part of the house (the room on the bottom right, formerly the kitchen, still awaits an identity, and there are still rooms on the other side). I received a lot of great feedback in the spring on the wall, and the ideas I kept coming back to related to adding texture.

On my great adventure with Pubdoll, I found some "pebble" paper in a rich creme color at Kate's Paperie. I also bought a few sheets in silver. I decided to go with the creme and then went about setting up the space with the large window and sliding doors in place. Here's a closeup of the paper:


My DIY moment this time around involved the art display on the overhang. This started as a key hook from the clearance bin at Bed, Bath, and Beyond!


The living area shows an arc lamp -- not my favorite one from minimodernistas, which I am attempting to touch up a bit, but a vintage chrome one I bought on eBay recently. It's neat, but I was disappointed to see that the head had some yellowed glue residue. I wonder if it was handmade. Hope it doesn't come across too much in the photos.


I decided to use yet another drawer pull from that thrift store in Chicago. This one is larger.


I flipped a AG Minis couch for a little eating area. I did this once in my Lundby Stockholm for a bar. That Chilewich placemat continues to come in handy. Please try to ignore the utilitarian mess in the background...!


Upstairs is my first attempt at a bath in this space -- searching for some serenity.


I may still change this double-height wallpaper if I find something different, but I think I'll stick with it for now. I intend to move onto my VERO next!

Credits: Arc lamp is an eBay find; couches are Bozart; side table is an artisan-made piece from Frida's Fancy doll house shop; rug is embossed felt from Michaels; coffee table is by Ryan's Room; lucite bench is a drawer pull; moss pots are made by me with craft items from Michaels; table is an AG Minis couch upside down; tulip chairs are Reac; pharmacy light is minimodernistas; art display is a key hook turned upside down with charms from Michaels; bath tub is a dish with a Mighty World funnel as a spout, and bath platform consists of two coasters from Crate and Barrel; bath throw is handmade by Oese; sink is an eBay find; pixel side table is by minimodernistas; clear plastic chairs are from FAO Schwarz; pouf is Lundby. Accessories are charms from Michaels, beads from Pubdoll, Gigi N Studio, Chrysonbon, Barbie by Jonathan Adler, Re-ment, and Tynies.

Re-ment: The bath flowers in the white bowl, four plastic bottles on the ottoman, and Burt's Bees-looking container on the sink are from I Love Hawaii # 7, "Looking for Souvenirs," and are good for 1:12. The black mirror on the sink and the purse on the chair are from Oriental Season, "Spring," and are good for 1:12.

Some DIY


I wish I could do more "do-it-yourself" things. I am always amazed at other modern miniature artisans and enthusiasts and what they create. (By the way, have you seen Ann's awesome shelf???) I like to re-purpose things, but I often combine and use what I have, rather than making magic from scratch.

My daughter actually inspired me to go DIY this past week. She was interested in making some items for a "general store" in one of her portable doll houses, and knew Michaels had a whole aisle with unfinished wooden miniature items, and was particularly interested in spools, buckets, and rolling pins. She indeed bought little spools and some friendship bracelet thread and proceeded to make a whole bowl of sewing thread, totally neat. I came home with a few pots from that aisle and found some cool-looking moss from the dried flower section...


and poof! Little moss-filled pots, thanks to some wood finish stain marker and glue!


I had the best of intentions after my minor DIY victory to clean up and store away some new purchases, among them a plexi nursery set from a dollhouse store ($14 for the set):


I originally picked them up at the store and put them down (twice), before snatching them up. I was put off by the pastel decoration but thought I might bring it to a more modern place ;)

I scraped off the pastel as best as I could and washed the pieces in some soapy water. Then, I chose some beloved paper and got to work on the shelf...


and then the crib...


A scene materialized from that. Yes, I know it is not terribly safe to have a child's room at the top of a double-height space without any stairs or barrier from below, but this is really a room for the parents ;)


Did you notice my lovely sea urchin? My son's preschool teacher brought a boxful of them home from her summer vacation in Maine and offered me my pick of a few! I just love their color and texture. And, a Petite Princess table fit right into the hole, creating a clear tabletop! I think it could work as a pouf, too. Perhaps this counts as a DIY??!


I thought I would end where I began, at Michaels. I just read Mini Modern's post about what you can find in craft stores, and she showed some really cool jewelry trinkets and embossed felt. I love how we were on the same wavelength -- I saw her post was as I was finishing my scene, which has some other craft store finds: the fish picture and the modern wall etchings are all jewelry accessories, on clearance ($2 or less). As Modern MC said, those racks are definitely worth a look. I've not only used them for art, but for tabletops and other accents.


Crafty!

Speaking of Mini Modern and utter craftiness, if you should find yourself in San Francisco this coming Thursday, September 16, head on over to the Design Within Reach store on Jackson Street, where a mega modern miniature gathering will be happening! It is from 5-7 p.m. (followed by an after party) and I wish I could teleport myself there from the east coast to attend. I know it will be great, and I cannot wait for the full report! Best of luck to Modern MC, minimodernistas, Paris Renfroe, brinca dada, and also Megan of Modern Mini Houses (her Antrim will be on display)!

Credits: Plexi crib and shelf and wood and plexi side tables (where the tea set is) are from Freda's Fancy doll house store; drum chairs and table top in sea urchin are vintage Petite Princess; whirlygig above crib and lamp are AG Minis; cradle in corner is vintage Fisher Price. Accessories are Re-ment, AG Minis, eBay finds, my local toy store, Barbie by Jonathan Adler, and Bozart.

Re-ment: I have written about the Re-ment in this scene with a few exceptions. The baby bottle, baby jars on the second shelf, and duck pull toy are all from American Kitchen #4, "Cute Little Nursery," and are slightly large for 1:12. The teapot is from Tea Time Collection #5, and is good for 1:12.

DIY Couch: A First!

So, I've officially completed my first mini DIY (or at least the first one in my adult life). When I was little, I would fix or make stuff for my dollhouse all the time -- it's funny how incredibly capable you believe you are when you're 8 or 9.

I had a bit of trepidation tackling a sad little couch from my vintage ranch purchase on eBay. The couch has nice lines but was covered in some awful green corduroy stuff with stains, dust and grime. I went and bought some Marimekko fabric (3 yds, @ $4.95 each) at our local Crate and Barrel outlet:

I guess I gravitated to green as a bit of a homage to the sad corduroy, and I bought three different fabrics to have options. I decided to go with the dots, called "Tuike" and made by Alicia Rosauer in 2003 for Marimekko. The other fabric did not go to waste; my husband and I were addressing the configuration of our family room and decided to pivot an old mahogany wardrobe against our computer table and tacked up one of the other pieces so as not to stare at the back of the wardrobe:


Back to the couch -- a bit of an adventure. I know nothing about doing this, so approached it as if I was wrapping a present. Fold fabric around the couch and then at the sides. I cut little holes for the legs and used a few little nails to secure things. I did not have a proper *small* hammer, and frankly didn't use a hammer, just the hard blunt edge of some filing tool. I actually used the nails in an obvious way -- they are visible on the front. I may change this, but may not have the same burst of energy as I did this first round.
This is where things started:


And this is where they ended up:


My challenge now is the arms. I have to cover them in fabric and I guess glue them on. I don't have the right glue (no glue, actually) so I have to address that. But, it's a start. It felt pretty satisfying.